Some records are mapped to a retention policy that require the end-user to add a RRTD (Record Retention Trigger Date) sometime after the records are ingested in DocFinity. This is due to the trigger being tied to a specific event (Manual Trigger) that is currently unknown and will occur in the future, such as "termination of employment" or "graduation". It is essential to add this date to the record in DocFinity once it is known so that retention requirements can be applied and the record can eventually be completely removed from the system. This step-by-step guide will show you how to set this RRTD on a single and/or multiple documents in DocFinity.
Jump to:
Set the RRTD on a single document
- Visit edms.uw.edu
- Log in using your UW NetID and password.
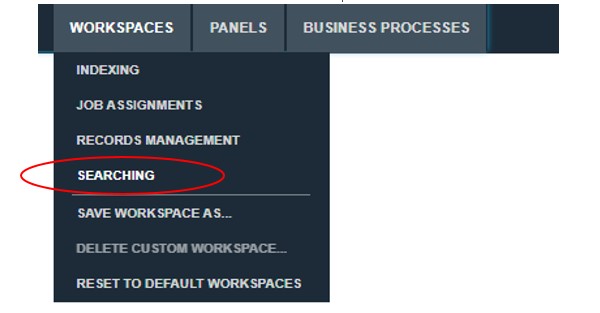
- To set a RRTD for a document, you first need to search for and locate the document. At the top of the webpage, click on the Workspaces tab – a drop-down menu appears. In the drop-down menu, click on Searching.
Note: DocFinity saves your workspace from where you left off the previous time. If you’d like to clear your workspace before proceeding, click on the Panels tab, then click on Close All Panels.
- Three panels have populated your workspace: Search, Document Viewer, and Results. Enter the search parameters in the Search panel, then click the blue Search button at the bottom. The Search fields may differ by department/office and by how DocFinity is configured for your records.

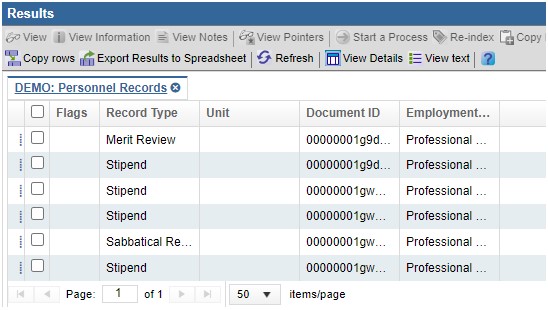
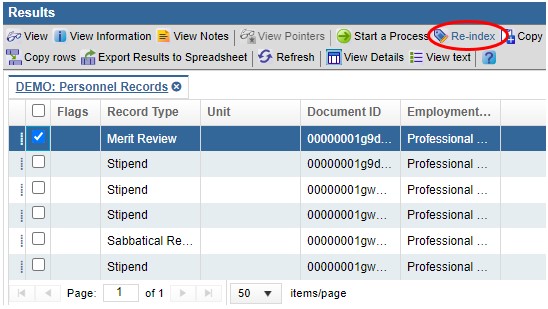
- The Results panel on the right shows the records that match the search parameters you’ve entered in the Search panel.
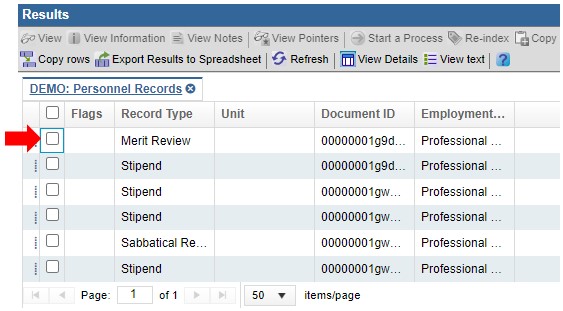
- Select the record to which you would like to add a RRTD by clicking on the white checkbox on the left side of the relevant item
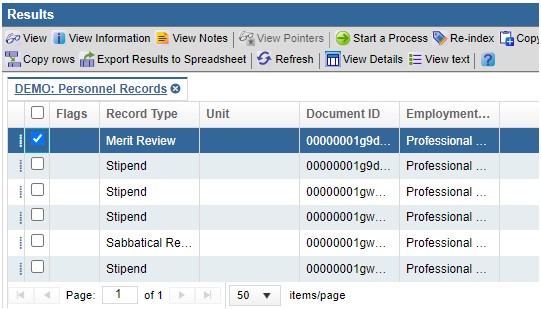
- You will know the record has been selected when you see a blue check mark appear within the checkbox. (You may de-select the record by clicking on the checkbox again.)
- Once you have verified you selected the correct record, click the Re-Index button at the top.
- The Indexing panel appears on the right-hand side showing several fields that may be re-indexed or altered.
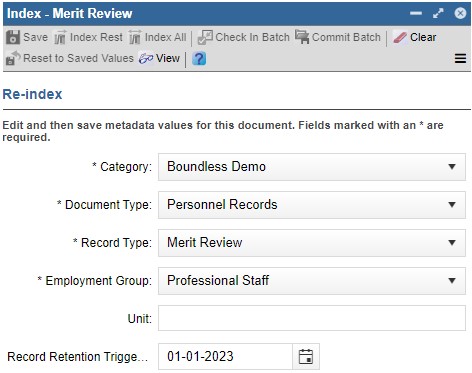
- At the bottom is a field titled Record Retention Trigger Date allowing you to enter a date.
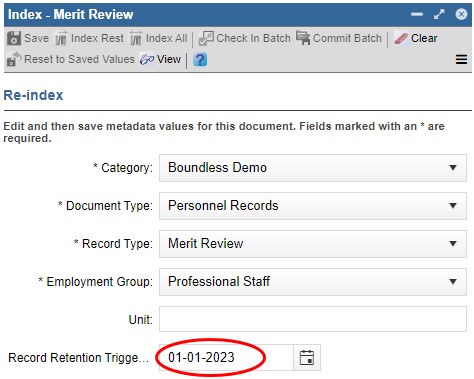
- Enter the correct RRTD, then click on the floppy disk or Save icon.
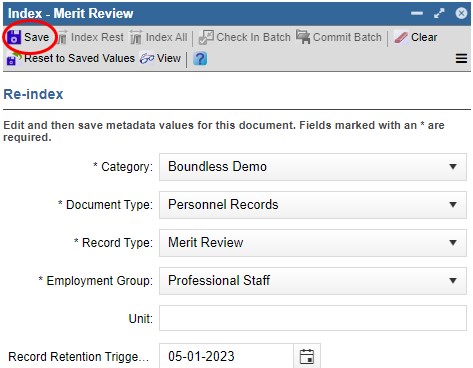
- A message appears at the top of your browser confirming the change.

Set the same RRTD on multiple documents at once (Bulk Re-Indexing)
- Visit edms.uw.edu
- Log in using your UW NetID and password.
- To set the same RRTD for multiple records, you first need to search for and locate them. At the top of the webpage, click on the Workspaces tab – a drop-down menu appears. In the drop-down menu, click on Searching.
Note: DocFinity saves your workspace from where you left off the previous time. If you’d like to clear your workspace before proceeding, click on the Panels tab, then click on Close All Panels.
- Three panels have populated your workspace: Search, Document Viewer, and Results. Enter the search parameters in the Search panel, then click the blue Search button at the bottom. The Search fields may differ by department/office and by how DocFinity is configured for your records.
- The Results panel on the right shows the records that match the search parameters you’ve entered in the Search panel.
Note: If you’d like to get a general overview of all records which are missing a trigger date, you may select “RMS: Missing Manual Triggers” from the drop-down menu under the Search field. Please note that if you’re looking for a specific set of documents to re-index, this search option is not recommended because the parameters under this type of search are limited.
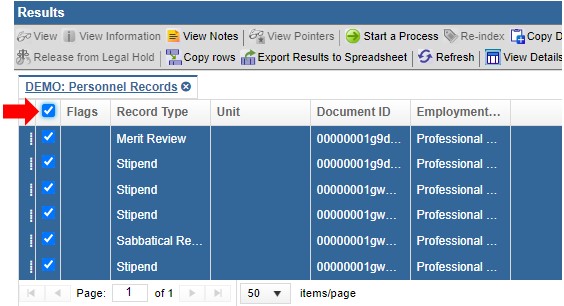
- Select the record(s) to which you would like to add a RRTD by clicking on the white checkbox on the left side of the relevant record item(s).
- You will know the record(s) has been selected when you see a blue check mark appear within the checkbox. (You may de-select the record(s) by clicking on the checkbox again.)
- To select records on a different page, click the icon with the small arrow to navigate to the next page. Alternatively, you may click on the drop-down menu next to “items/page” to expand the number of results per page.
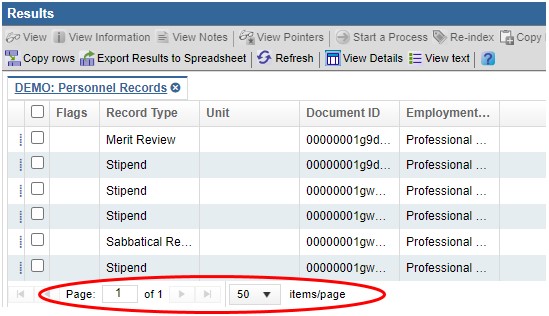
If you’d like to select all the records shown in the current results page, check the white checkbox at the top of the panel. (Selections do not transfer once you navigate to a different page.)
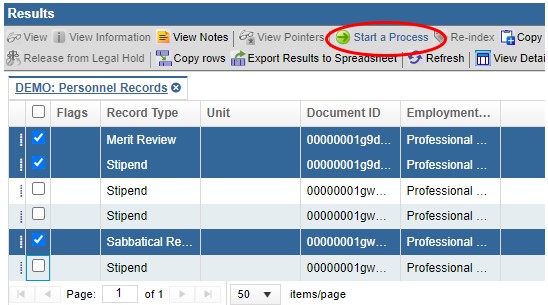
- Once you have verified you selected the correct record(s), click the Start a Process button at the top.
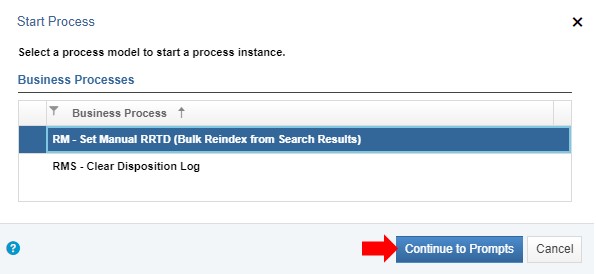
- The Start Process window appears, prompting you to select a specific business process.
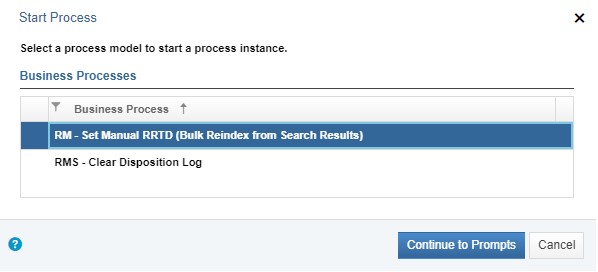
- Select “RM – Set Manual RRTD (Bulk Reindex from Search Results)” from the list by clicking on it so that it becomes highlighted in blue. Click the Continue to Prompts button at the bottom.
- The Start Process window will then prompt you to enter a Record Retention Trigger Date. Enter the correct RRTD for the selected items then click on the blue Start Process button.
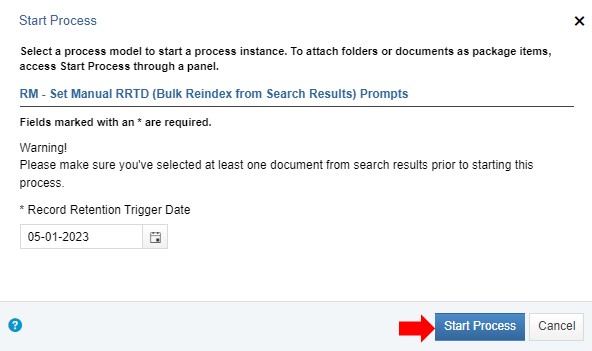
- A message appears at the top of your browser confirming that the business process has been initiated.

Note: Depending on load it may take several minutes for the changes to be effective.