Click on the sections below to get started:
- Placing Records on Legal Hold
- Viewing Documents on Hold
- Exporting Documents on Hold
- Exporting Metadata
Placing Records on Legal Hold
Step 1. Visit edms.uw.edu
Step 2. Log in using your UW NetID and password.
Step 3. To place a record on legal hold, you first need to search for and locate the records. At the top of the webpage, click on the Workspaces tab – a drop-down menu appears. In the drop-down menu, click on Searching.
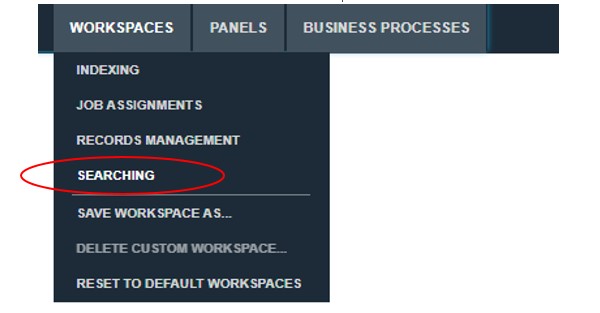
Note: DocFinity saves your workspace from where you left off the previous time. If you would like to clear your workspace before proceeding, click on the Panels tab, then click on Close All Panels.
Step 4. Three panels have populated your workspace: Search, Document Viewer, and Results. Enter the search parameters in the Search panel, then click the blue Search button at the bottom. The Search fields may differ by department/office and how DocFinity is configured for your records.
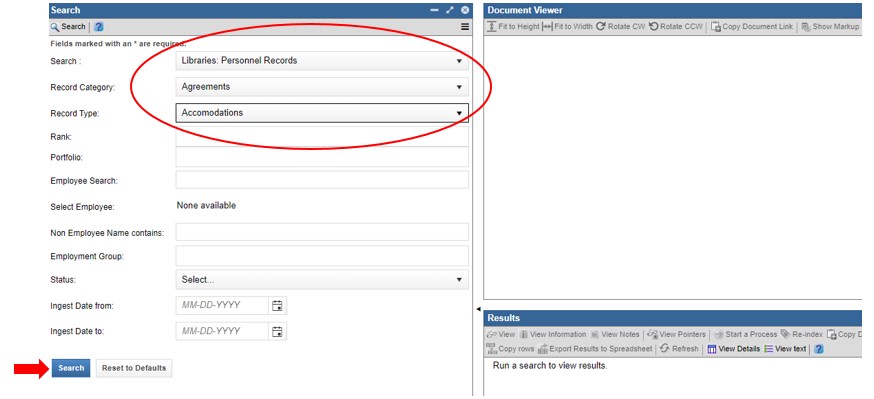
Note: Search terms and timeframe depend on the scope of the hold. Contact the office that distributed the destruction hold notification such as the Office of Public Records, Internal Audit Office, or the UW Attorney General's Office for questions on the scope of the request.
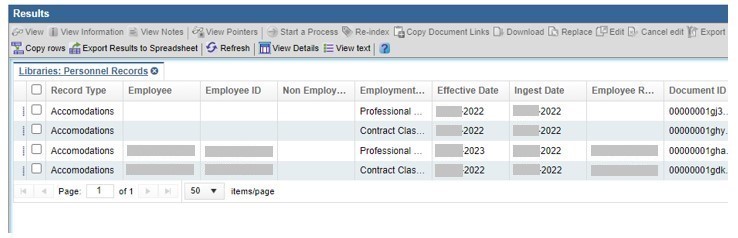
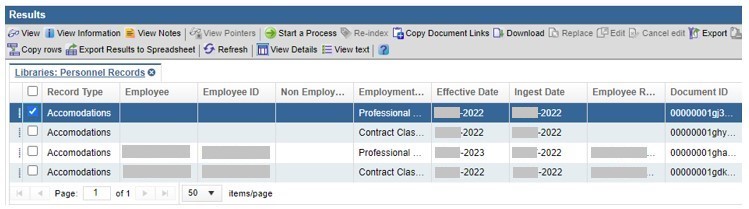
Step 5. The Results panel on the right shows the records that match the search parameters you have entered in the Search panel.
Step 6. Select all the records that meet the scope of the legal hold by clicking on the white checkbox on the left side of the relevant record item.
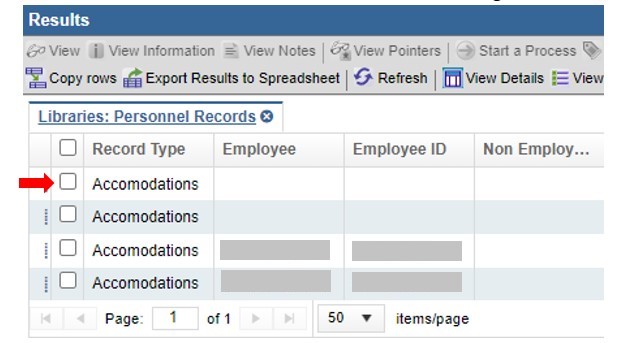
Step 7. You will know the record has been selected when you see a blue check mark appear within the checkbox. (You may de-select the record by clicking on the checkbox again.)
Step 8. To select records on a different page, click the icon with the small arrow to navigate to the next page. Alternatively, you may click on the drop-down menu next to “items/page” to expand the number of results per page.
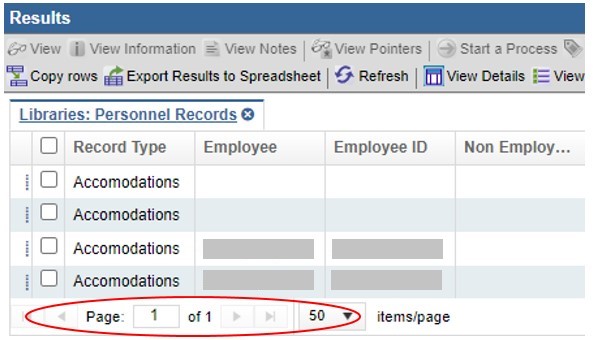
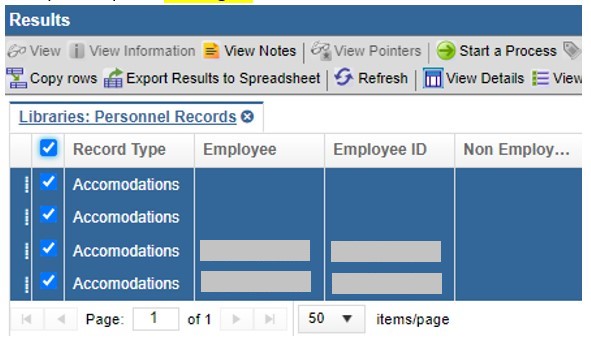
- If you would like to select the records shown in the current results page, check the white checkbox at the top of the panel.
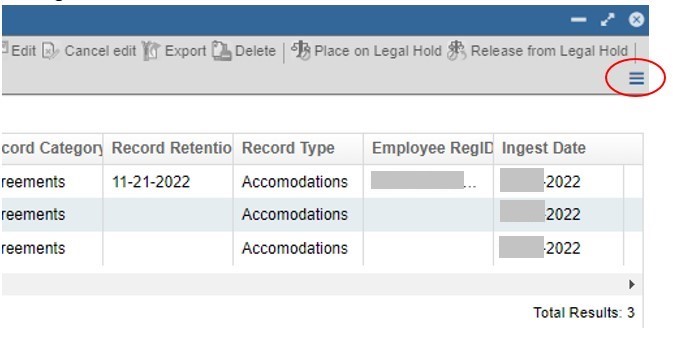
- If you would like to select all the documents in the Results panel, including documents on all pages, click on the three-line icon AKA “hamburger icon,” (Panel Menu) and select “Place All Records on Legal Hold..."
Step 9. Once you have verified the selected records, click the Place on Legal Hold button at the top.
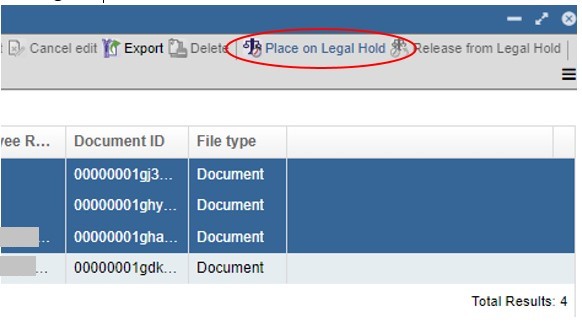
WARNING: If you place the wrong record(s) under legal hold, you MUST contact Records Management Services to release them from the legal hold.
Step 10. The Place Record on Legal Hold window appears, prompting you to associate your legal hold with a specific Legal Case.
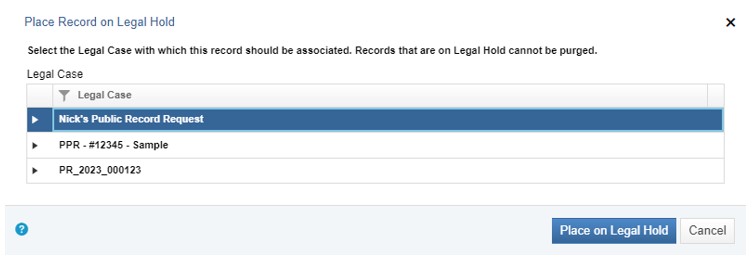
Note: Clicking on the small black arrow next to a Legal Case allows you to see more detailed information about the Legal Case.
Step 11. Select the correct Legal Case from the list by clicking on it so that it becomes highlighted in blue. (De-select it by clicking on it again.) Once you have verified you selected the correct Legal Case, press the Place on Legal Hold button at the bottom.
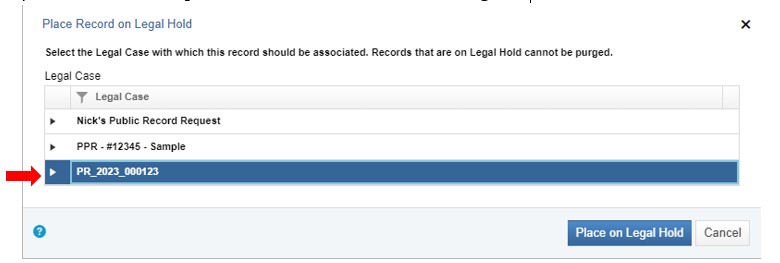
WARNING: If you assign the record(s) to the wrong Legal Case, you MUST contact Records Management Services to correct this. If you place the wrong record(s) under legal hold, you MUST contact Records Management Services to release them from the legal hold.
Step 12. The Confirm Legal Hold window pops up, asking you if you are sure you want to place the selected record(s) on legal hold. To confirm, press the Place on Legal Hold.
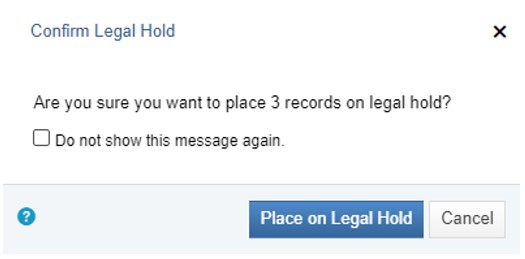
Step 13. Once you confirm, the window disappears. The legal hold is now in effect.

Step 14. Repeat Steps 3-13 to conduct a search with new search parameters to capture any other records subject to the legal hold.
Viewing Documents on Hold
After having followed the instructions for Placing Records on Legal Hold, it may be helpful to review all the documents you placed under a hold in one place. To do this, follow these instructions:
Step 1. Visit edms.uw.edu
Step 2. Log in using your UW NetID and Password.
Step 3. At the top of the page, click on the Workspaces tab – a drop-down menu appears. In the drop-down menu, click on Searching.
Note: DocFinity saves your workspace from where you left off the previous time. If you would like to clear your workspace before proceeding, click on the Panels tab, then click on Close All Panels.
Step 4. 3 panels have populated your workspace: Search, Document Viewer, and Results:
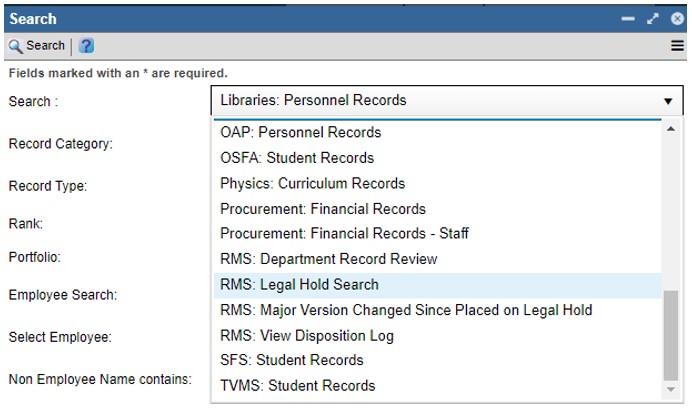
- In the Search panel, click on the drop-down menu next to the “Search” field and select RMS: Legal Hold Search.
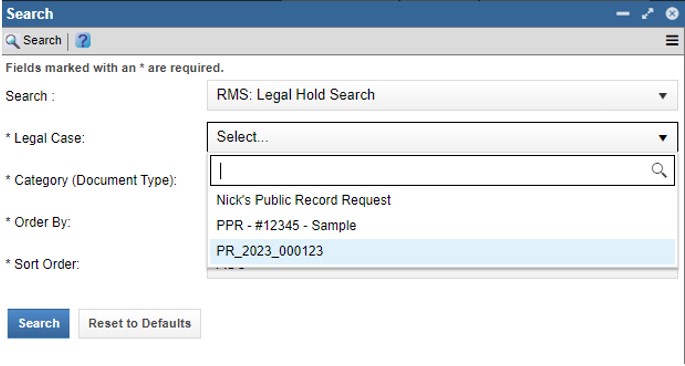
- Next, click on the drop-down menu next to the “Legal Case” field to choose the relevant legal case.
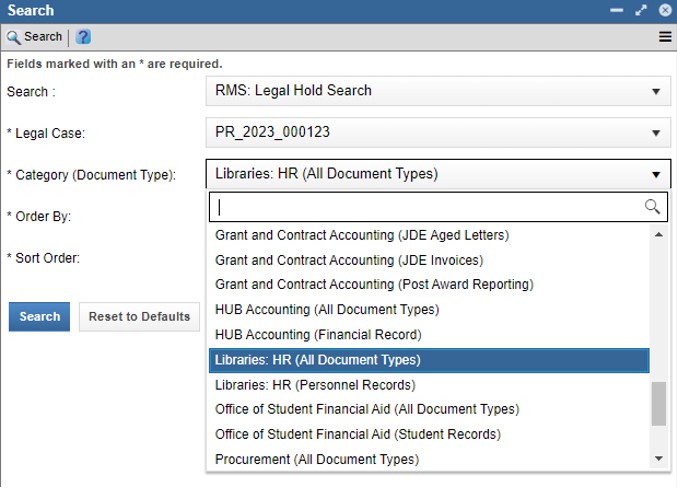
- Select the relevant “Category (Document Type)” from the drop-down menu.
 >
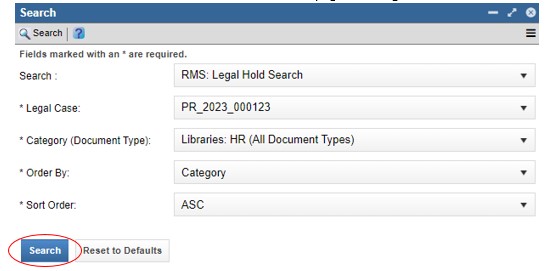
> - Press the blue Search button at the bottom of the page.
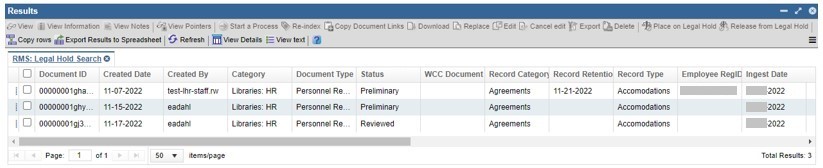
Step 5. The Results panel on the right show the records your office has placed under legal hold.
Exporting Documents on Hold
First, refer to the instructions above for Placing Records on Legal Hold. All records must be placed on legal hold before producing an export.
These instructions are to download a copy of the records on hold from DocFinity. The original version of the records will remain in DocFinity even after downloading the copy.
Step 1. Visit edms.uw.edu
Step 2. Log in using your UW NetID and Password.
Step 3. At the top of the page, click on the Workspaces tab – a drop-down menu appears. In the drop-down menu, click on Searching.
Note: DocFinity saves your workspace from where you left off the previous time. If you would like to clear your workspace before proceeding, click on the Panels tab, then click on Close All Panels.
Step 4. 3 panels have populated your workspace: Search, Document Viewer, and Results:
- In the Search panel, click on the drop-down menu next to the “Search” field and select RMS: Legal Hold Search.
- Next, click on the drop-down menu next to the “Legal Case” field to choose the relevant legal case.
- Select the relevant “Category (Document Type)” from the drop-down menu.
Note: For the purposes of providing the metadata for all Department records under a Legal Case, it would be most prudent to select the “(All Document Types)”.
- Press the blue Search button at the bottom of the page.
Step 5. The Results panel on the right shows the records your office has placed under the legal hold. (It may take several minutes for the results to load.)
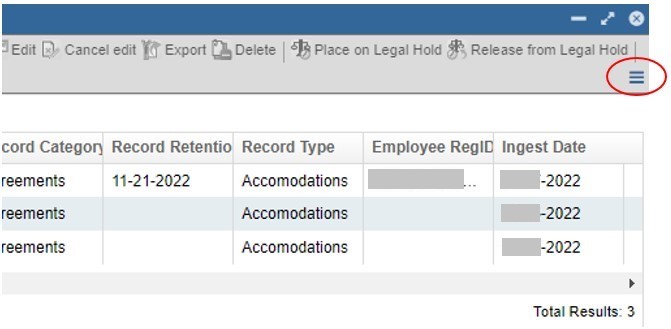
Step 6. Click on the 3-line icon, AKA “hamburger menu,” (Panel Menu) on the right side of the Results panel.
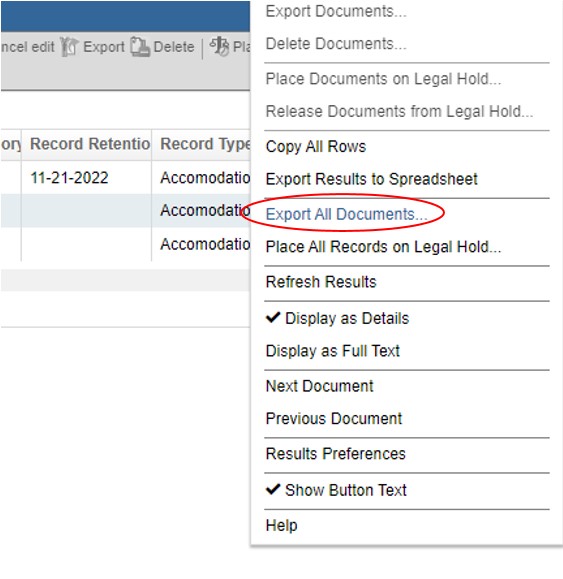
Step 7.The Panel Menu appears. In the Panel Menu, select the Export All Documents… option
Step 8.The Export Documents window pops up. Enter a name in the “Export job name” field. (By default the name of the file will be “Export-MM-DD-YYYY” but you may customize this at your convenience.)
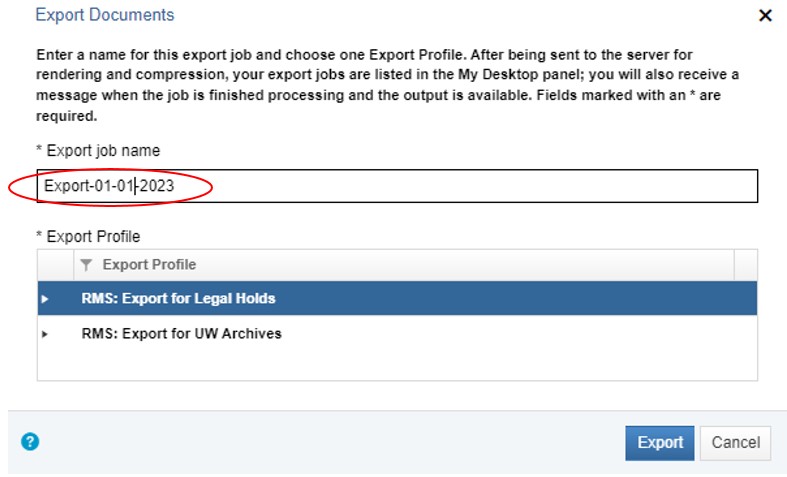
Step 9. Under the “Export Profile” field, select RMS: Export for Legal Holds so that it becomes highlighted in blue. (De-select it by clicking on it again.) Next, click on the blue Export button at the bottom.
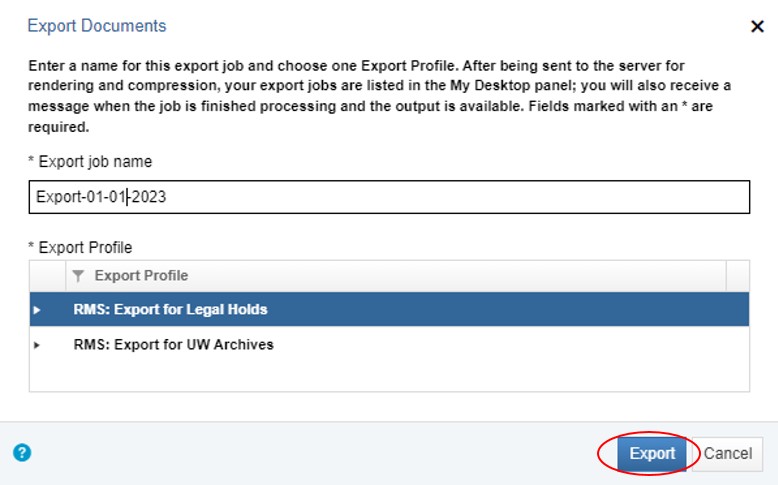
Note: Clicking on the small black arrow next to an Export Profile allows you to see more detailed information about the profile.
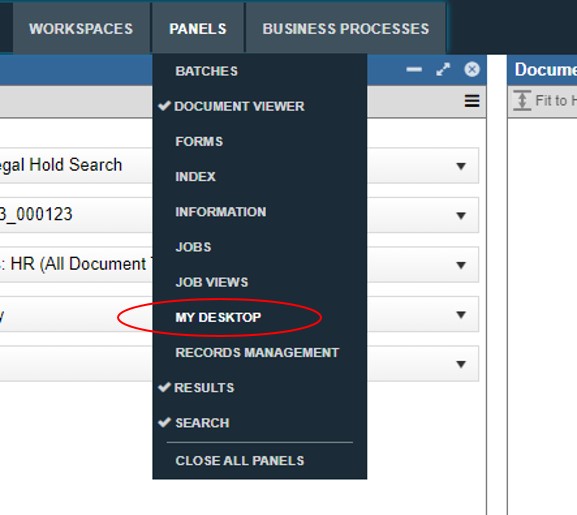
Step 10. To download the export file from DocFinity, select the Panels tab at the top. In the drop-down menu, select My Desktop.
Note: You should also receive a UW email with a unique link when the export is ready, which allows you to download the file.
Step 11. The My Desktop panel appears. A message appears under the My Messages tab stating that your export is ready for download.
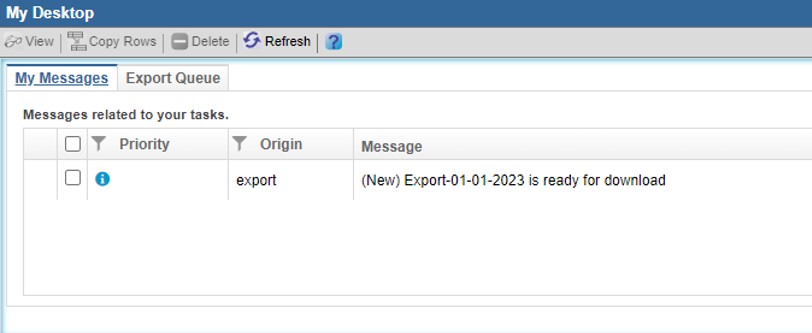
Step 12. Double-click on the Export message. Doing this sends you straight to the Export Queue tab.
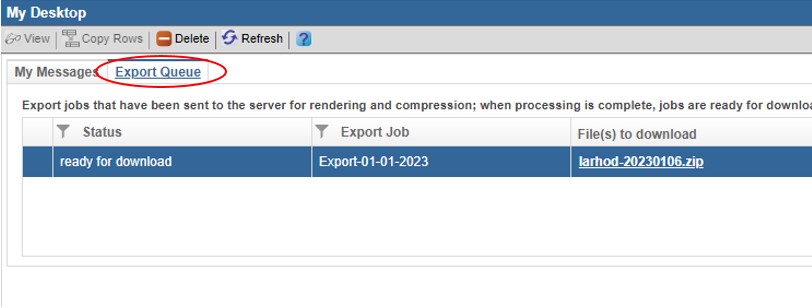
Note: You may also simply click on the Export Queue tab next to the My Messages tab to find all of your existing export files under the “Export Jobs” column. If you don’t see the export job you are looking for, click the Refresh button above the My Messages and Export Queue tabs.
Step 13. The export file under the “Export Job” column should match the naming convention you used for the file in Step 8. Click on the respective hyperlink under the “File(s) to download” column to download the export file.

Note: The records are batched into compressed zip folders and are configured to have a maximum capacity of 10GB. If the volume of documents total more than 10GB, the documents will be broken into multiple compressed zip folders.
Step 14. A popup appears in your browser window indicating the folder is downloading, this may depend on the web browser you are using. By default, your file downloads into your local “Downloads” folder.
Step 15. Move the export folder out of the “Downloads” folder into a safer location such as a secure Shared Drive.
Step 16. Provide the exported folder(s) to the office that requested them.
Exporting Metadata
These instructions are to download a .csv file of the metadata associated with records that have been placed on hold. If you’re looking for instructions on how to export a copy of the records on hold, refer to the instructions for Exporting Documents on Hold.
All records must be placed on legal hold before exporting the metadata. To place records on hold refer to the instructions above for Placing Records on Legal Hold.
As part of the collection in response to a public record request, subpoena, or investigation, you may need to export the metadata associated with the documents. This procedure should be done immediately after Exporting Documents on Hold to ensure the metadata matches the documents exported. Follow these instructions:
Step 1. Visit edms.uw.edu
Step 2. Log in using your UW NetID and Password.
Step 3. At the top of the page, click on the Workspaces tab – a drop-down menu appears. In the drop-down menu, click on Searching.
Note: DocFinity saves your workspace from where you left off the previous time. If you would like to clear your workspace before proceeding, click on the Panels tab, then click on Close All Panels.
Step 4. 3 panels have populated your workspace: Search, Document Viewer, and Results:
- In the Search panel, click on the drop-down menu next to the “Search” field and select RMS: Legal Hold Search.
- Next, click on the drop-down menu next to the “Legal Case” field to choose the relevant legal case.
- Select the relevant “Category (Document Type)” from the drop-down menu.
Note: For the purposes of providing the metadata for all Department records under a Legal Case, it would be most prudent to select the “(All Document Types)”.
- Press the blue Search button at the bottom of the page.
Step 5. The Results panel on the right shows the records your office has placed under legal hold. (It may take several minutes for the results to load.)
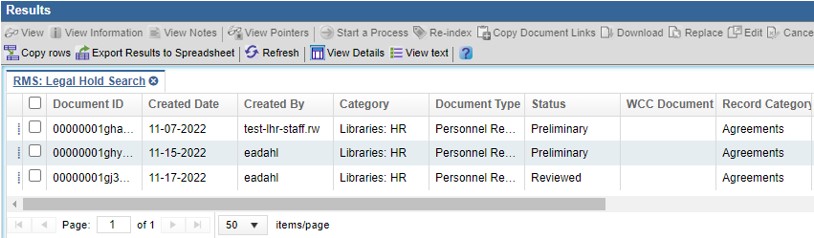
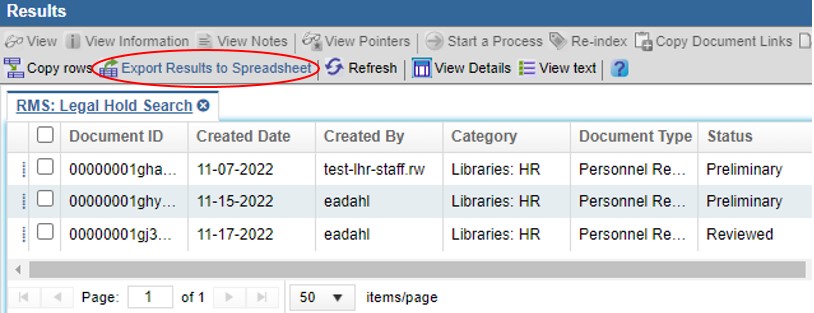
Step 6. In the Results panel, click on the Export Results to Spreadsheet button. This button will export the metadata for all the results of your search in one click whether you have selected them or not.
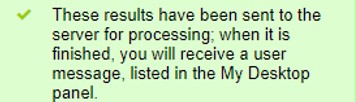
Step 7. A message appears at the top of your browser. DocFinity will prepare a .csv file that will contain all the metadata associated with the records listed in the Results panel.
Step 8. To download the file from DocFinity, select the Panels tab at the top. In the drop-down menu, select My Desktop.
Note: You should also receive a UW email with a unique link when the file is ready allowing you to download it.
Step 9. The My Desktop panel appears. Under the My Messages tab a message appears stating that the “RMS: Legal Hold Search search results are ready for download”.
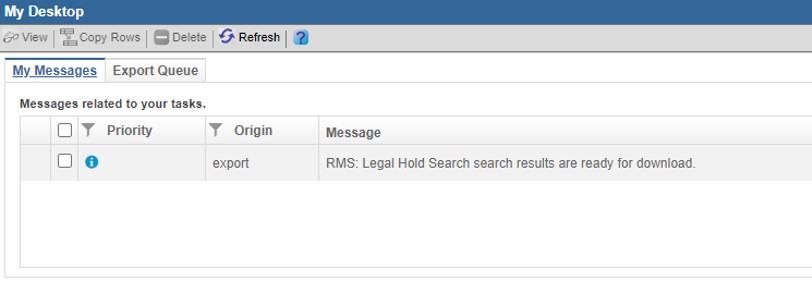
Step 10. Double-click on the message. Doing this sends you straight to the Export Queue tab.
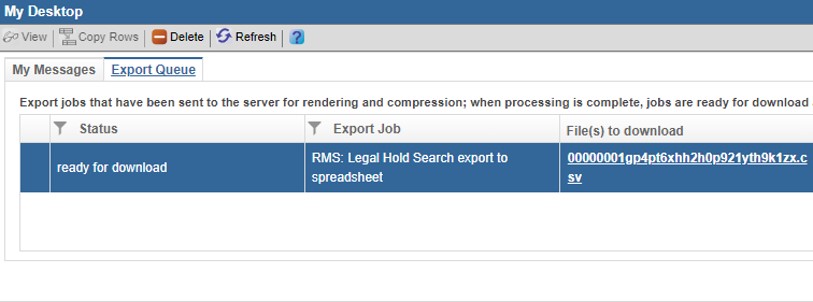
Note: You may also simply click on the Export Queue tab next to the My Messages tab to find all of your existing files under the “Export Jobs” column.
Step 11. Click on the hyperlink under the “File(s) to download” column to download the export to spreadsheet file.
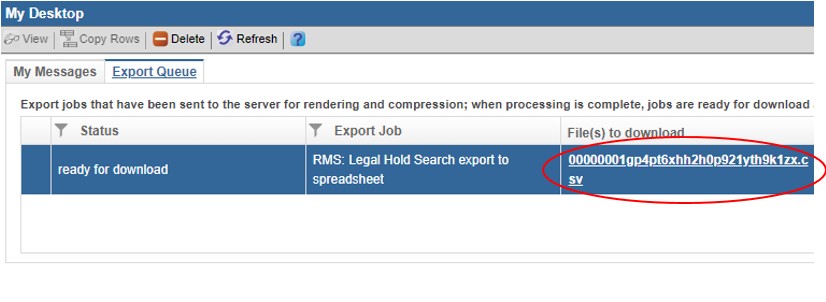
Note: The .csv file name is auto-generated. Ensure you have selected the correct file before downloading.
Step 12. A popup appears in your browser window indicating the file is downloading - this may depend on the web browser you are using. By default, your file downloads into your local “Downloads” folder.
Step 13. Move the export file out of the “Downloads” folder into a safer location such as a secure Shared Drive.
Step 14. Provide the exported .csv file(s) to the office that requested them.