UW-IT created a list of choices for Outlook that -- with an easy click of your mouse -- can apply an approved retention period to your email. Always remember, though, that the retention is comprised of two parts: when you start counting (the cut-off) and the number of years to count before the e-mails can be deleted. The retention policy settings in Outlook are all based on when the email message was sent/received by Outlook. Ex: If you set up a folder with a 1 Month to Delete Policy, that one month will be calculated from the date a message was sent/received in Outlook, not 1 month from the date you set up the policy. When applying an approved retention period to your email, be sure to do the math and chose the retention period which provides a deletion trigger date that includes both the years to count and the cut-off.
If your department is not on UW-IT Outlook, please have your IT administrator contact us to create similar retention policies for your e-mail.
Please be sure that your e-mails have reached their cut-off before choosing a retention. Do note, that even after turning on this timer, no message is automatically deleted. Instead, when the retention ends, the messages go into a "Recover Deleted Items" folder for 14 days before they are purged.
If you receive a public records request, audit notification, or the records are involved in litigation, you can click on the relevant e-mails and move them to a folder without automated retention.
Refer to the UW General Records Retention Schedule or your Department Records Schedule to determine the appropriate retentions for your e-mails.
Assign a retention policy to an email folder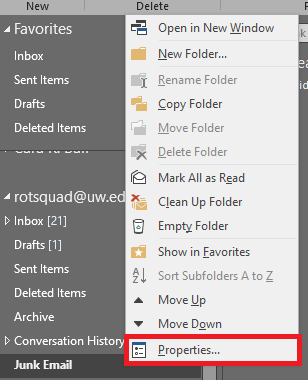
- In Outlook, right click the folder you would like to assign a retention policy and click Properties
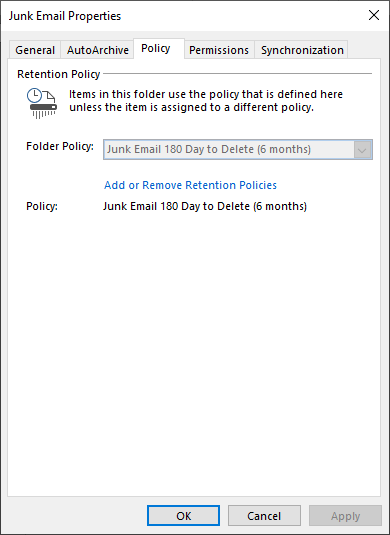
- Click the Policy tab
- Choose the Folder Policy based on the retention period you have determined from an approved records retention schedule
- We suggest: for transitory emails, such as a folder for newsletter or notifications, choose a time frame less than 6 months
Assign a retention policy to email messages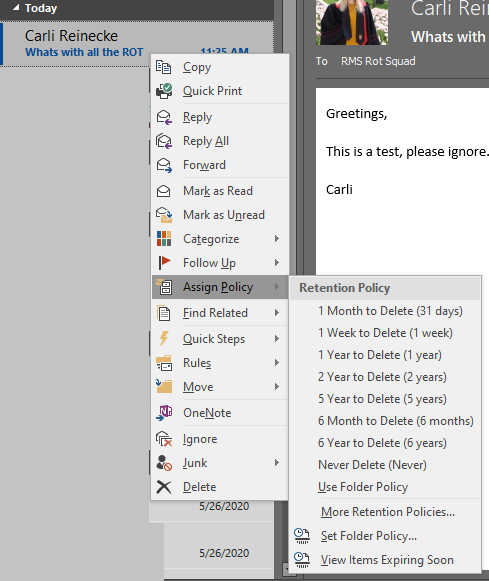
- Right click the email you would like to assign a retention policy and click Assign Policy
- Choose the policy based on the retention period you have determined from an approved records retention schedule
- Note that after applying a policy, you'll see the retention information in your email's header
When using an Outlook Retention Policy, messages that meet retention are moved to a Recover Deleted Items folder for 14 days before they are purged.
Recover Deleted Emails
- Navigate to the folder where you would like the messages to be restored.
- On the Folder tab, click Recover Deleted Items
- Highlight the email(s) you would like to recover and click OK