Quick Steps allow you to take a process that requires multiple steps and combine them into one easy action. There are many possible uses for this tool, such as flagging a message and moving it into a folder, or forwarding a message to your entire work team, or creating a calendar item based on the message.
Please note that the screenshots provided in these instructions reference only the desktop application of Outlook. Once set, the policies will still work if you are using Outlook 365 online.
Create a new Quick Step
In this example, we will create a Quick Step email that can be used to quickly respond to an email that requests for your office hours.
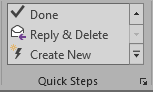
- In the Quick Steps pane in the Home tab select Create New
- Choose a name for your Quick Step
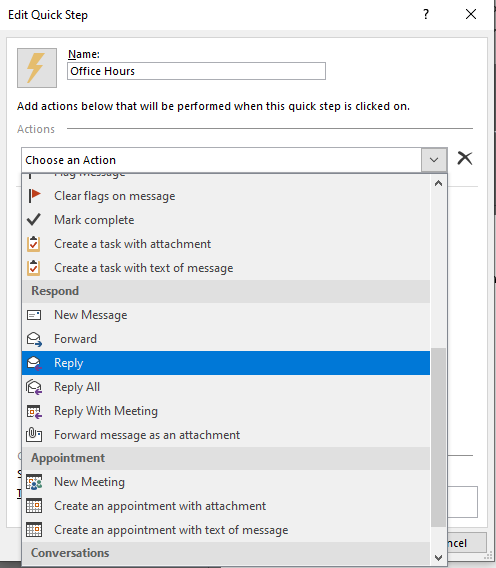
- Click the dropdown and choose Reply under the Respond heading
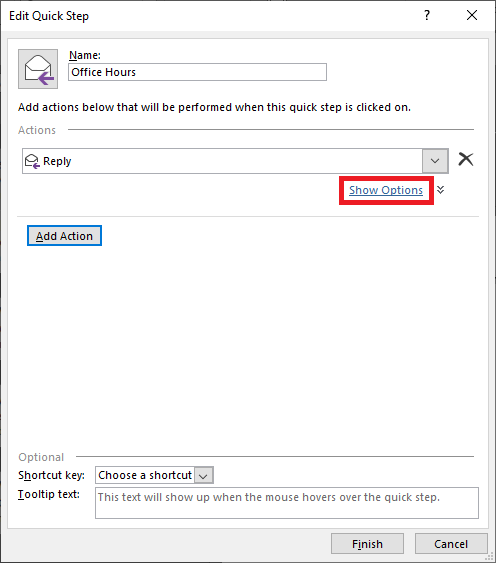
- Click the link to Show Options right below and the screen will expand to add more options to the email
- Choose a subject line, flag and/or importance, and enter in text regarding your office hours
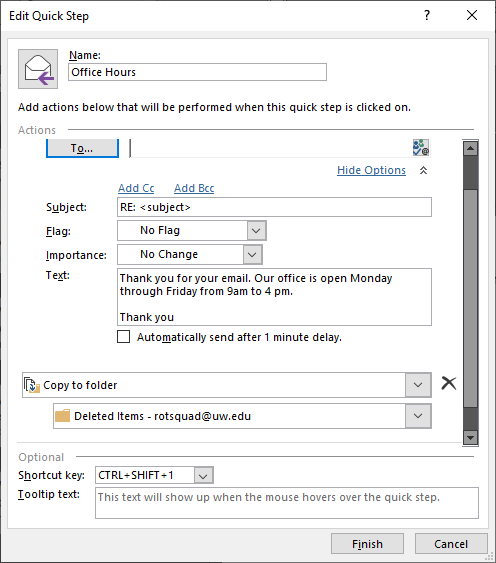
- Choose an Action to be completed after the Quick-Step email is sent
- You can choose to Delete the email immediately after sending or Set Retention Policy to delete the email after a certain period of time
- Add a Shortcut Key to complete the Quick-Step using a combination of keystrokes.
- Click Finish
Now when you receive a routine request for office hours, you can reply and delete all in one step! Either use your keyboard shortcut or click on the Quick Step on the Home Tab.