


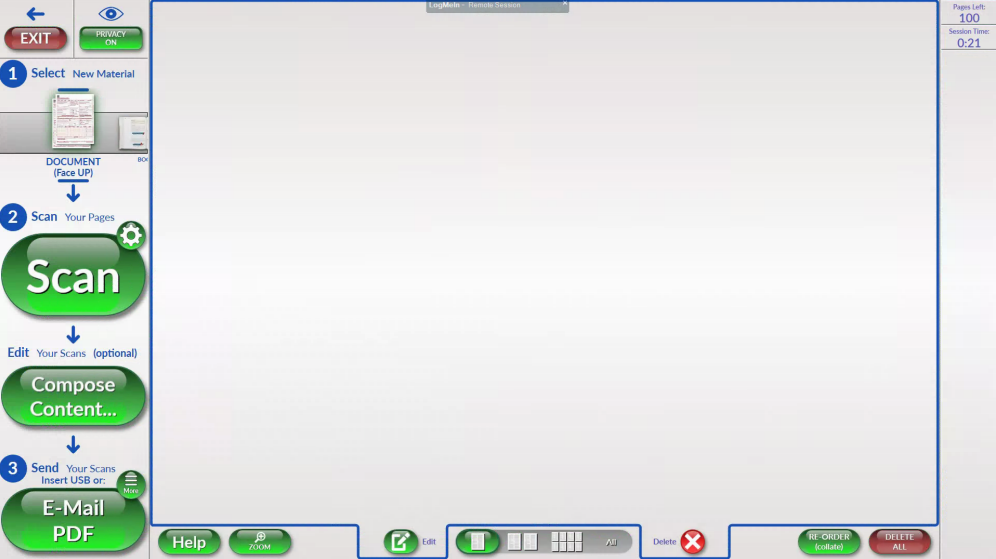
How to Scan on a Dawg Prints Scan Station:
- (Optional) Swipe and highlight the material type on Welcome Screen.
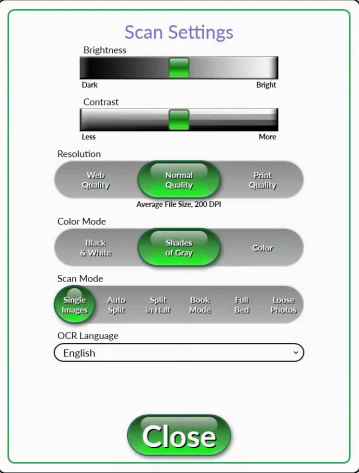
- (Optional) Touch the gear icon to configure scan settings. This is the same
gear icon on the scan interface.
- (Optional) Touch the "Learn" button on the right or next to the scan button to
learn more about the features on the top screen. - Touch Scan.
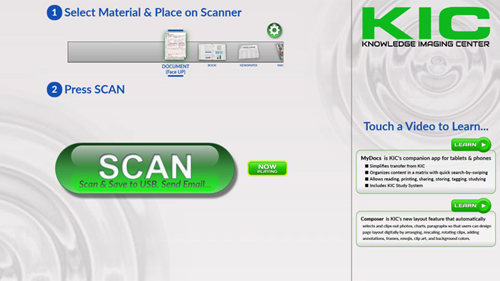
- (Optional) Swipe and highlight the material type you wish to scan to have the application select the best scan settings.
- Touch Accept & Scan to direclty start scanning your documents!
- Touch Decline to get into scan interface.
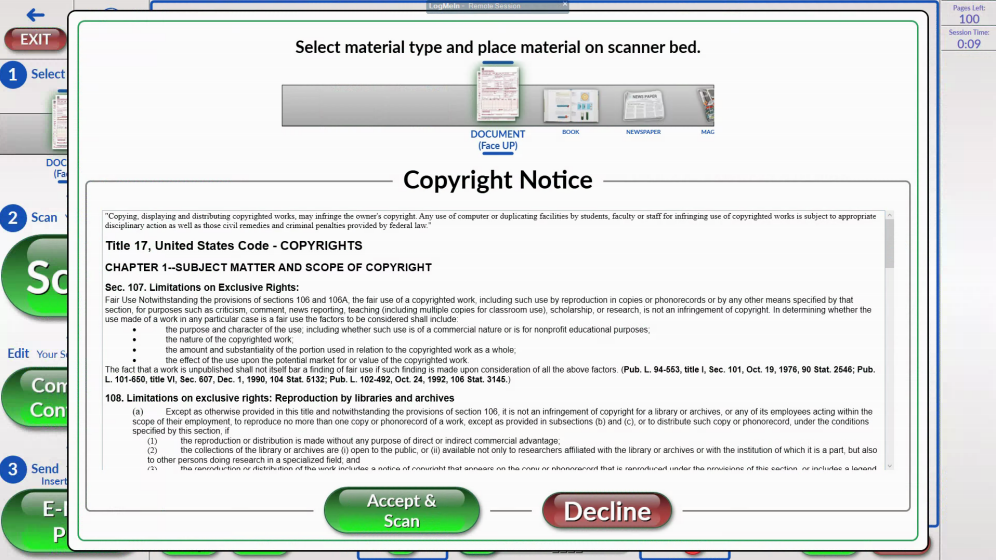
- Touch Scan to continue to scan your documents.
- (Optional) Touch the gear icon to make changes to the scan settings.
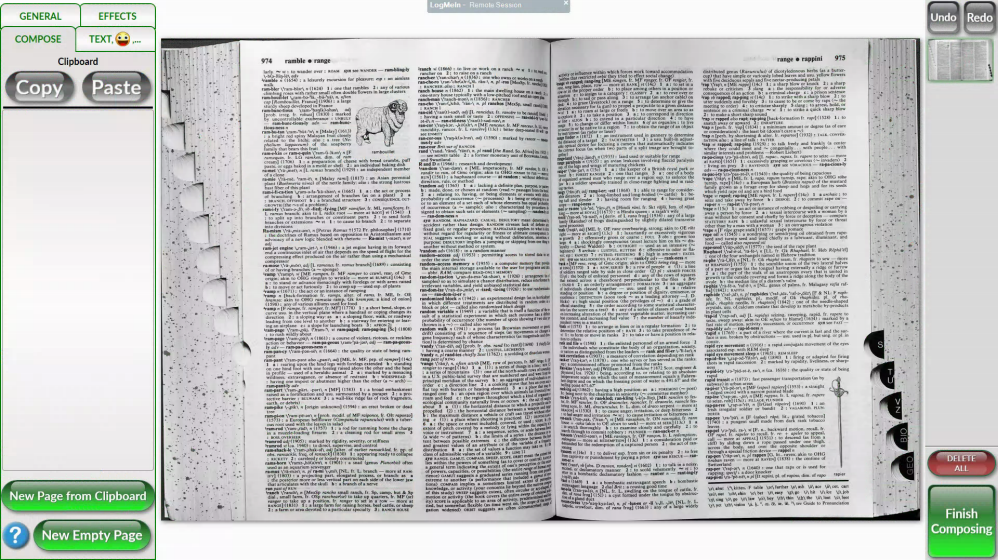
- (Optional) Touch Compose Content to make edits to your scans.
- Touch E-Mail PDF when you are finished scanning or when you have inserted your USB stick.
- (Optional) Touch More if you need to export or make further changes on how you want to export.
- Touch Help if you need a local visual guide.
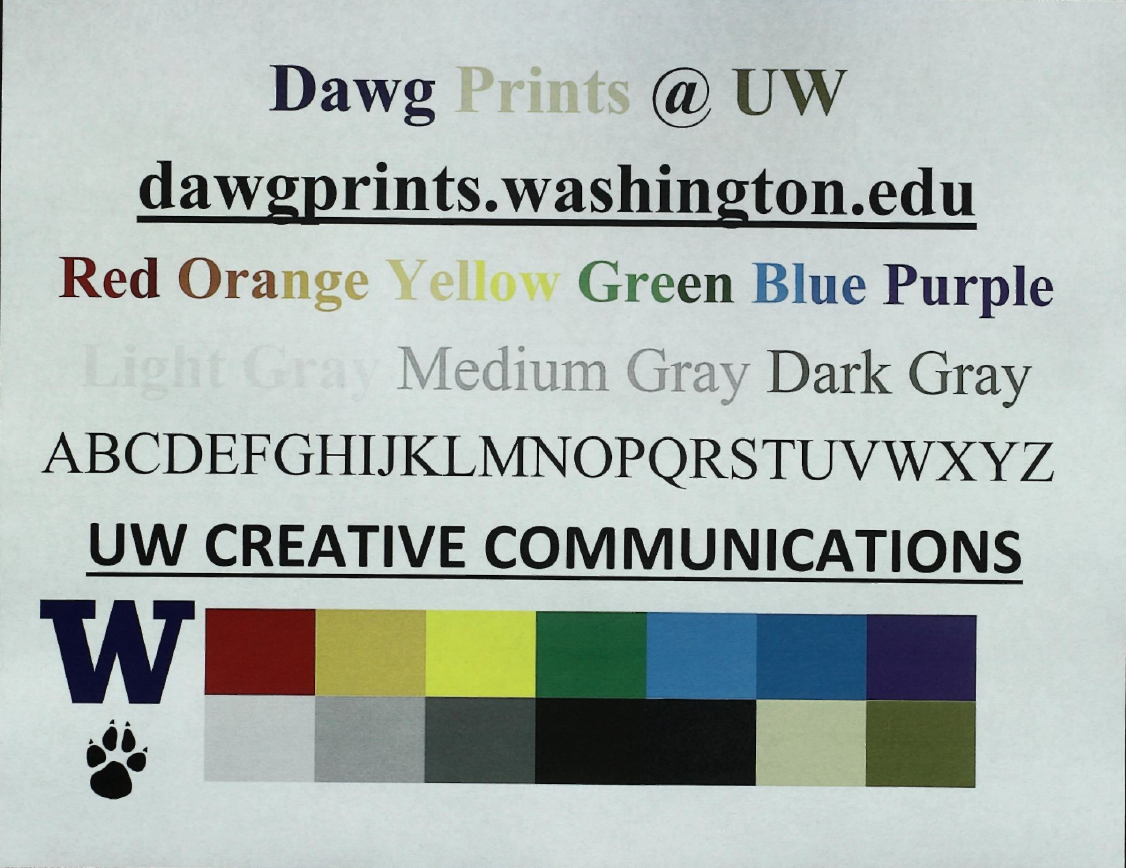
- The below are examples of the different types of scans determined by the Color Mode.
- Black & White
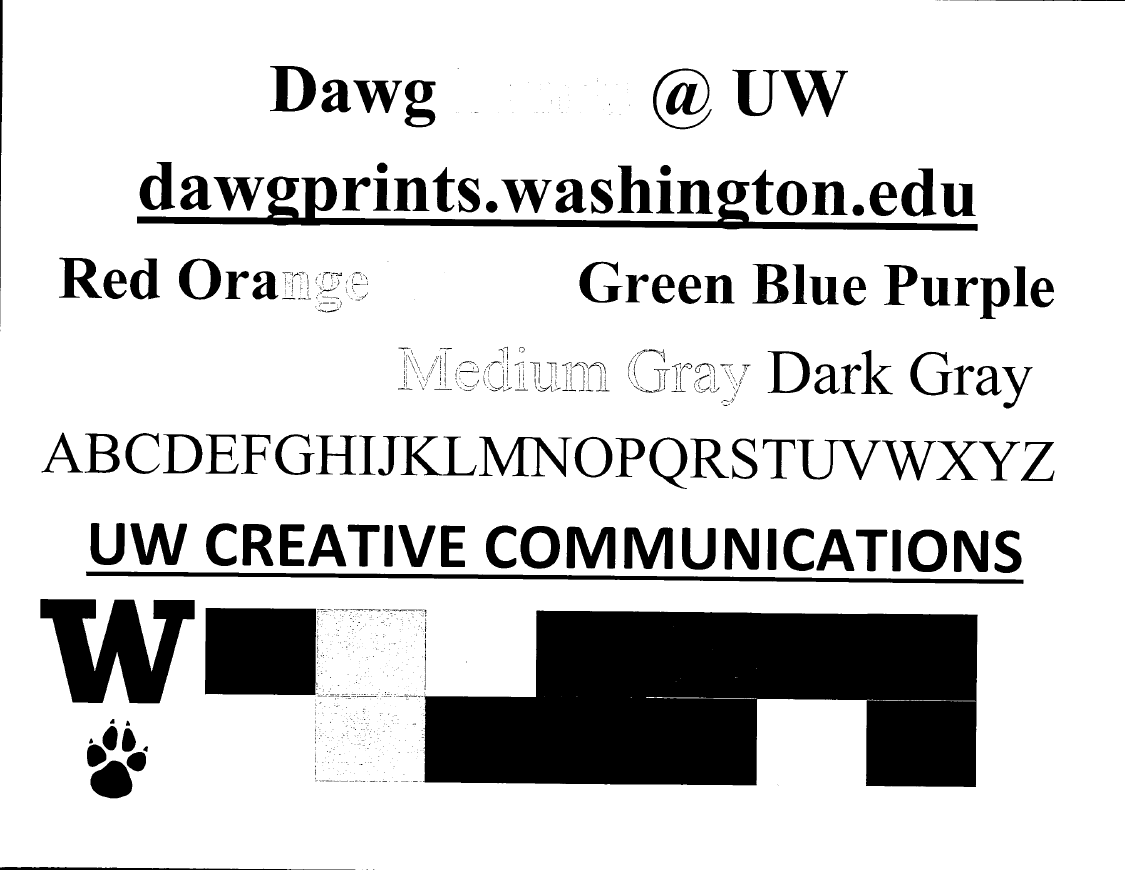
- Greyscale (Current Default of Dawg Prints Scan Stations)

- Color
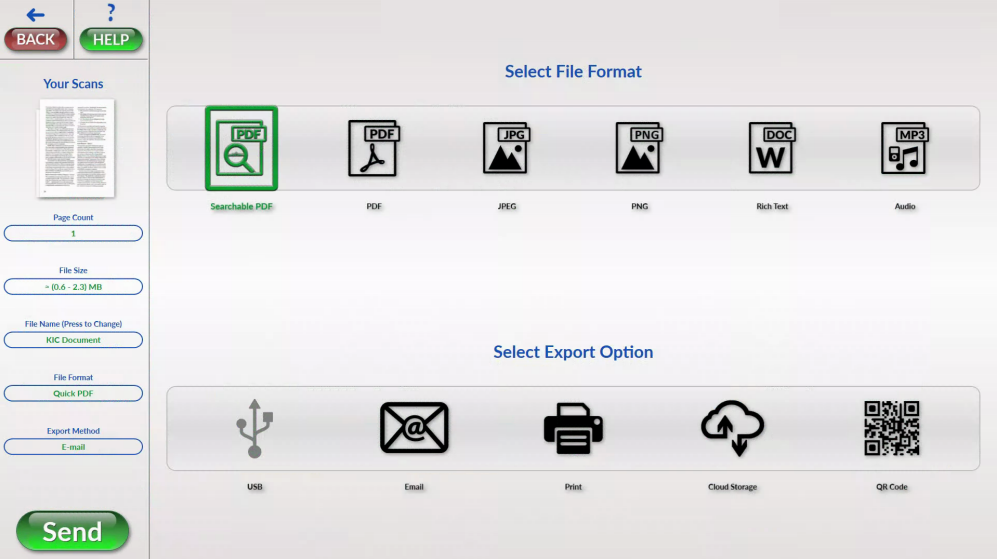
- Touch the More icon next to the Export PDF on the scan interface to get to here.
- Select your desired file format.
- Touch Make File Name changes.
- Export to printing, cloud storage (Google Drive, OneDrive, Box) or QR Code
- Touch the Help button to get the following informative screen below:
